<previous: Table of Contents
up to Table of Contents
next: Generating the Physical Model >
open Reference Guide (in this window)
open Applet Page (in new window)
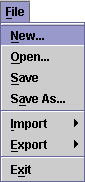
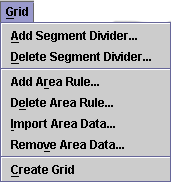
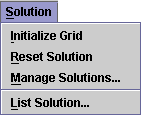

General Program Operation

Requirements of the Program

    The only definite requirement for running Gryphon is a valid Java Runtime Environment, version 1.4.0 or higher.  This piece of software is distributed free by Sun Microsystems, Inc. for many operating systems, and some less common OS manufacturers also provide Java free for their users.  A list of download locations is available.

Accessing the Program

    Accessing the program can be done through the Gryphon applet page.  There are serveral ways to start the program.
    The first method is the recommended method.  This is the method utilizing the Java Web Start software, which is included in version 1.4 of the Java Software Developer Kit or Java Runtime Environment from Sun Microsystems.  This software is distributed by Sun for Windows, Linux, and Solaris operating systems.  Additionally, Mac has a version of Web Start for their Java Runtime Environment as well.  As of version 1.4 (in Windows and Linux anyway), the Java Web Start product is included in a separate installation file in the "jre" directory of the Java installation directory.  After installing the extra program, the software can be run by running "javaws.exe" in Windows or "javaws" in Linux in the installed folders.  More detailed instructions may be found on the Web Start site on installing and running this software.
    Once Java Web Start is installed, it is a simple matter to select the link to start Gryphon for Java Web Start by selecting the link on the applet page.  The first time this is done, depending on what browser is used, it may be necessary to associate the link on the web, which is to a JNLP file, to Java Web Start.  The is called MIME type, and all browsers keep lists of what program to use to open a link of a certain extension.  If a dialog appears asking what to do with the JNLP file type, select the option that the file should be opened with "javaws.exe" in Windows or "javaws" for Linux and Solaris.  More details can be found in the particular browser documentation or in the Java Web Start documentation.  This association should be automatic after the first time.
    The second method of running Gryphon involves running the code from the applet on the applet page.  If Java 1.4 or higher is running on the system, a launch button appears.  Clicking on the launch button on the screen starts a web version of Gryphon.  Although this might seem easier than running Java Web Start at first, it is not the preferred method because running the code through a web applet places certain restictions on the code detailed just below.
    The third method available is that the bundle of class files are available to be downloaded and run using Java on the user's desktop.  This is again not preferred because once the code is downloaded, the user has no way of knowing about updates and improvements to the code.
    Once the code is running through Java Web Start for the first time, the user will be promted with a dialog box saying that Gryphon is requesting unrestricted access to the local system.  The code is self-signed using the included Java signing tool.  The dialog will say that this signature cannot be verified because it has not been generated by any of the large computer security companies in the area.  It is important to understand that there is no implied warranties or guarantees in using Gryphon, and any use of or effects on the computer is completely the responsibility of the user.  However, with this said, Gryphon requires access only to read and write files to the user's local hard drive.  It makes no other changes to the local system if the user says "Yes" to this security dialog.  These files are only for saving the database and solution information that the user generates for a future session.  After agreeing to the unlimited security option once, this dialog is never repeated again.
    If the user denies access, or if the user runs the code through the applet discussed above, Gryphon cannot read or write files.  The code still runs and still solves problems, but there is no record to save from session to session, and all information will be lost when the user shuts off the program.
    It is also important to understand that downloading and running the application locally from the hard drive inherantly has the same security risks that running a code unrestricted through Web Start does.  Additionally, Web Start automatically updates the application whenever a new version is available.  Therefore, Web Start is the preferred method of running Gryphon.  Once the code has been downloaded once, the application can be run either from the Gryphon applet web page or from starting Web Start locally from the desktop (the "javaws.exe" or "javaws" files) and selecting Gryphon from the window which appears.

Basics of the Interface

    Once the program is running, the graphical user interface will appear.  Thanks to Java's design, this window will appear similar in any operating system that supports it.  The window will take on the characteristic fonts and borders of the system, but one should see a window which looks like the main window shown below in Figure 1.  That particular screenshot was taken in Linux Redhat 7.3.  

Main Gryphon Window
(click this image to enlarge)
Figure 1. Main GUI Window of Gryphon with Highlighted Areas

    The interfacing consists primarily of several main features.

Navigating the Main Menu

    The main menu offers many general features which will be discussed here, such as file control.  Some of the more specific menu  features will be discussed in later sections where they are more applicable. Before talking in detail about them, detailed views of the various menus are shown in Figure 3.

file menu
grid menu
solution menu
  (a) File Menu
(b) Grid Menu
(c) Solution Menu
options menu
help menu
(d) Options Menu
(e) Help Menu
Figure 
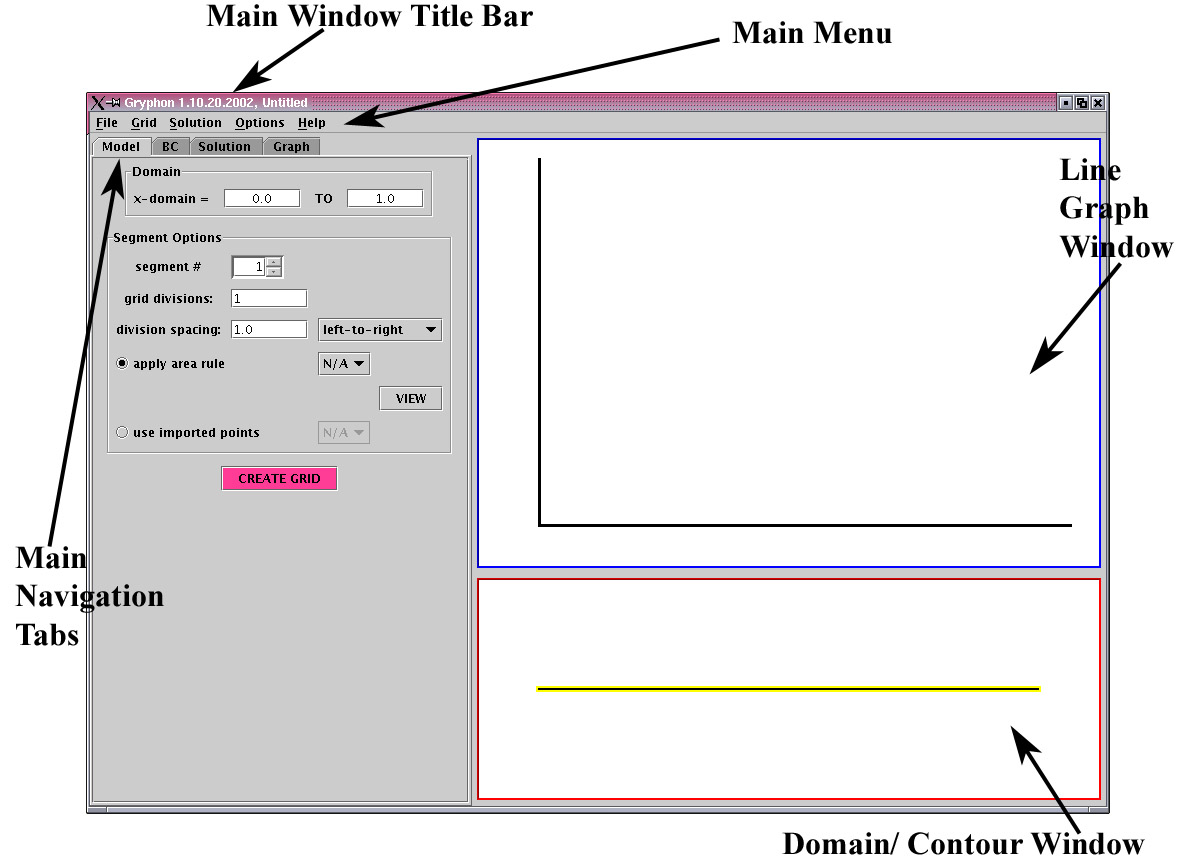
3. Detailed View of Individual Main System Menus
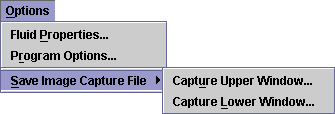
    The file menu contains many of the usual graphical program options that are found in most programs.  It also contains two submenus: Import and Export.  These two submenus are shown in expanded form in Figure 4.

Import submenu
Export Submenu
  (a) Import Submenu
(b) Export Submenu 
Figure 
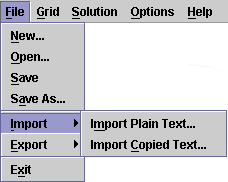
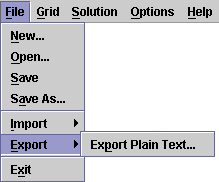
4. Detailed View of Individual Submenus of the File Menu

The contents of the file menu (Fig. 3a) are listed here with descriptions for convenience:

    The Grid menu (Fig 3b) will be discussed in more detail in the sections on creating a physical model and creating a grid.  The various option commands in the menu will be described fully there.  The grid menu will be most often used in conjunction with the first navigation tab, the Model tab.
    The Solution menu (Fig. 3c) has various commands for controlling the storage of solution data.  Detailed discussion of these commands will appear under several later sections.  The Solution menu includes provisions for initializing and removing the solution, managing the solution for time dependent problems where there may be many time levels stored and the user wishes to eliminate some ofthe intermediate steps, and a system for listing the data.  This list dialog box in particular is another important solution evaluation tool and provides a way to copy or save data for export to another post-processing program.  The Solution menu will most often be used with the third and forth navigation tabs -- the Solution and Graph tabs.
    The Options menu (Fig 3d) has miscellaneous commands for doing various things in the program.  These options may be used at almost any point in the program execution, and will be discussed as they are most appropriate.  In particular, the Fluid Properties command opens a dialog box for setting the global fluid parameters of specific heat ratio and fluid gas constant.  These two properties are independent of the geometry and problem type, but impact the solution.  They must be known for the fluid of interest.  Both must be positive, and the specific heat ratio must be larger than one.  Also, the image capture submenu allows either the upper graph window (the line graph) or the lower graph window (the contour graph) to be saved to a picture file.  Standard output options for JPEG and PNG format are allowed.  The images saved will be the same number of pixels as the window shown on the screen.  A tab in the Program Options dialog allows the amount of JPG compression to be controlled.  For the contour window, both image formats provide good quality. Due to the nature of the image for the line graph and the algorithm for the JPG compression, that format shows typically some color degradation on the lines of the top window.  For this window, PNG format is recommended, although both formats are certainly readable.
    The help menu (Fig. 3e) contains a command for diaplaying a typical "About" dialog box, containing version information, system nformation, program information, etc.  This is typical of most graphically oriented programs.

<previous: Table of Contents
up to Table of Contents
next: Generating the Physical Model >